Finally decided to post a tutorial on the Tie Dye Nails I tried a while back. It's cute but I wasn't really satisfied with the results I got. This technique needs a little practice to get good results. Will try it again soon, though.
You will need:
 |
| A small bowl with warm water |
 |
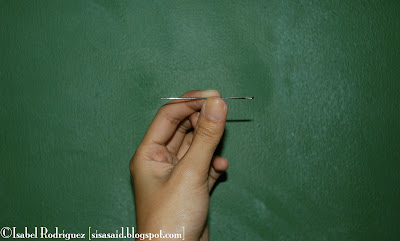
| A needle |
 |
| There shades of nail polish, one to use as base and two complimenting colors |
So, here we go...
Let a few drops of nail polish, both colors, drip on the water. Don't put in too much, this would cause the nail polish to sink to the bottom.
Use the needle to make patterns on the nail polish (in the bowl, on the water) to create the Tie Dye effect.
Choose which part of the nail polish blob/design you'd want on your finger then dip your finger in that area. Do this with your nails facing the polish. The polish will stick to your nail. The tricky part is pulling your finger out of the water and not ruining the design.
If you make a mistake with the polish on the water, just use the needle to get the polish out of the water, the polish will stick to it. Easy peasy.
Be sure to do everything in the least amount of time possible, the polish could dry on the water.
Tip: If you rub on petroleum jelly on your fingers before starting, the polish on your skin will just rub off. Make sure you wipe the jelly off your nails before dipping them, though
And then you have...
This thumb is my favorite result, but like I said, it's not as neat as I'd like it to be.
Whaddya think?


No comments:
Post a Comment
Leave a comment to let me know what you think!